There’s a lot of potential for confusion and mistaken identities in scholarly publishing. You might share a name with other, similarly named researchers! Or you might have changed your name at some point during your career. How are others supposed to know if they’ve found the right you?
Luckily, some smart people have been working to make name disambiguation easy. ORCID IDs are permanent identifiers for researchers. They protect your unique scholarly identity and help you keep your publication record up-to-date with very little effort.
ORCID was founded in 2012 as a non-profit organization comprised of publishers, funders, and institutions like Nature Publishing Group, Wellcome Trust, and Cornell University. Over 1 million researchers have ORCID IDs so far, and the number continues to grow.
Setting up your ORCID profile will help you claim your correct, complete publication record. In this challenge, you’re going to claim your ORCID ID so you can automate the collection of your work and related metrics in a future challenge.
Step 1. Claim your ORCID in under 30 seconds
- First things first: logon to ORCID.org/register and sign up for an ORCID account.
- At this step in the process, you’ll add very basic information like your name and email address, choose a default level of privacy for your profile, accept ORCID’s terms of use, and click “Register”.
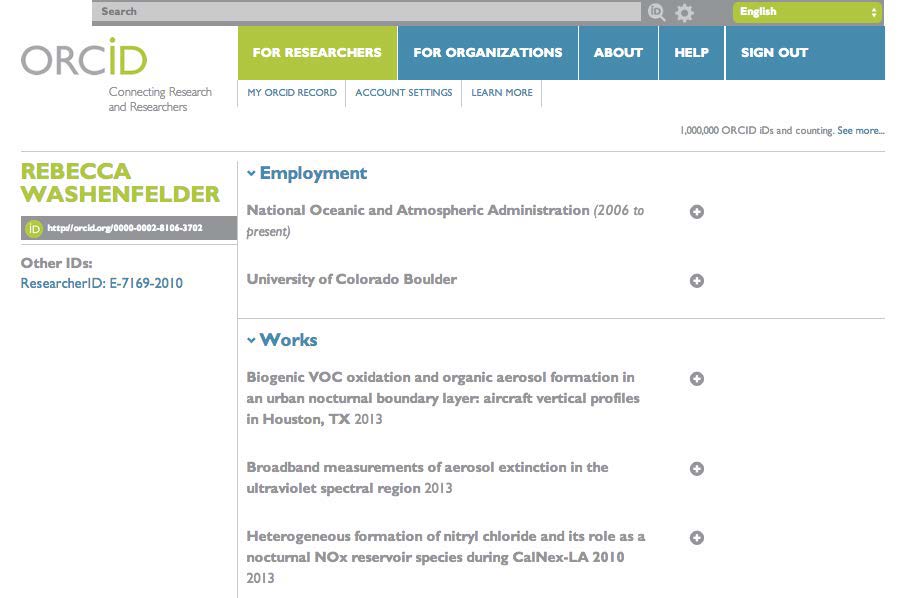
- If your name is already in the ORCID system, you’ll then be prompted to claim an existing profile or make a new one.
Congrats! You now have an ORCID identifier. And now you’re on your way to having an ORCID profile, too.
Step 2. Fill out your ORCID profile
- Next, you’ll fill out your ORCID profile so that others can verify who you are, and also learn more about you.
- First, add links to your Google Scholar, your personal website, and any other websites where you’ve got a scholarly profile.
- On the left-hand menu on your main profile page, click the pencil “Edit” icon next to “Websites.”
- orcid id options for keywords, qr code, and country
- In the fields that appear, add links to your Google Scholar and other professional profiles you’ve created. Also add a link to your website or faculty page. Describe each link adequately enough so your profile’s viewers know if they’re going to click a Google Scholar link vs. something else.
Click “Save changes” when you’re done.
Import your publications by connecting other scholarly identifiers
- Any type of scholarly output you create, ORCID can handle.
- Are you a traditional scientist, who writes only papers and the occasional book chapter? ORCID can track ‘em. Are you instead a cutting-edge computational biologist who releases datasets and figures for your thesis, as they are created? ORCID can track that, too. Not a scientist at all, but an art professor? You can import your works using ORCID, as well, using ISNI2ORCID… you get the idea.
ORCID will even start importing information about your service to your discipline soon!
- To connect to other identifiers and indices:
- From your main profile page, scroll down to the “Works” section and click the “add some now” link. You’ll then be prompted to connect to the services of your choice.
- Once you’ve connected your profiles, your works will be imported automatically to ORCID. If you’ve connected another scholarly identifier like your Scopus Author ID, a link will appear in your left-hand menu bar.
- Complete your personal information
Finally, add your education credentials and employment history that might not have imported when you connected other services.
Under each section, click the “Add Manually” button, fill out as much descriptive information as you’re comfortable sharing, choose the level of privacy you’d prefer under the “Who can see this?” section in the upper right of the pop-up box, and then click “Add to list” to commit it to your profile.
Step 3. Complete your publication record
- It’s possible that not all of your publications and other works will have imported. You can add them in three ways:
- Manually by clicking the “Add Work Manually” button under your Works section and adding the publications one-by-one.
- Importing works from your Mendeley profile (if you have one already by) using the Mendeley2ORCID service. Just login with your ORCID ID in the top-right corner of the screen, approve a sync with Mendeley, and your works will be imported to ORCID.
- Batch import your works using the new BibTeX import button. You can export your works from Google Scholar, EndNote, and many other reference management services in BibTeX format, then click the “Link BibTeX” button under the Works section of your profile, upload your BibTeX file, and you’re done!
If any duplicate records were imported with the Mendeley sync or BibTeX import, you can delete them by clicking the trashcan icon next to the duplicate work’s title.
Step 4. Connect ORCID to the rest of your online life
- You can connect your ORCID account with websites including Web of Science, Figshare, and Impactstory, among many others.
- Once they’re connected, you can easily push information back and forth between services–meaning that a complete ORCID record will allow you to automatically import the same information to multiple places, rather than having to enter the same information over and over again on different websites.
- And new services are connecting to ORCID every day, sharing information across an increasing number of platforms–repositories, funding agencies, and more!
Limitations
- ORCID is still a relatively basic service. You cannot edit incorrect entries, automatically detect and remove duplicates, or export your profile information in BibTeX, JSON-LD, or other researcher-friendly formats.
- ORCID also has gaps in its coverage. It doesn’t find all of your publications, all of the time, and connectable third-party services.
The valuable information from this page was provided via the Research and Impact Visibility Guide on Citation Analysis from Texas Tech University
